Post-COVID, gaming became a trend that lots of people are trying out to kill time and enjoy themselves at the same time. This means gaming opportunities will keep starting to ride on the trend. After all, the more players, the more fun games are.
To play along with your friends wherever they’ll be, you’ll need to have either a LAN party and a server in your own house. Alternatively, you should set up a dedicated server. And of course, you would need a computer and internet connection.
Although some rental servers don’t need to be personally taken care of, these can also be the source of headaches. With all those lag issues and outdated server software, you are better off on your own. Here are our five tips for setting up a gaming server.
Secure a VPS hosting plan.
VPS hosting helps a lot in setting up a gaming server. It allows you to possess a huge space and bandwidth. To configure anything on your server and to run your own batch files to make multiple services. It is also far more cost-effective than a completely dedicated hosting plan and highly customizable. You’ll only pay for what you need and avoid paying for features you do not need at all.
Download and install all the needed tools required by the game you want to host.

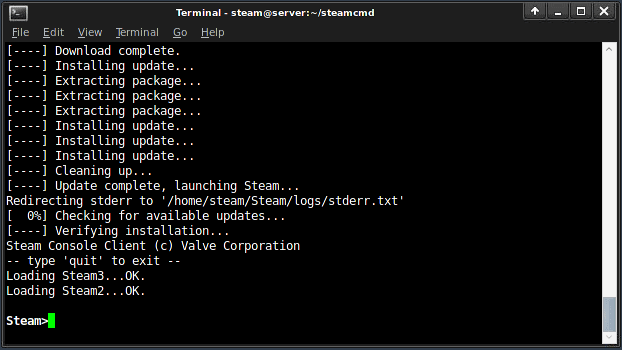
Before you can actually set up your game server, you have to prepare everything you’ll need. You’ve got to download and install SteamCMD first in preparation for all the steps you’ll take. That way, you’ll have something to start into conveniently and in a centralized manner. No confusion for all the steps for you.
Take extra notes of the hardware of your server.
In setting up your gaming server, we recommend that you use a separate PC so you can free up some of the resources on your system. Servers consume more memory and somehow risk your data privacy. To ensure your security and gaming stability, separate your gaming PC and your server.
So, what are the required minimum hardware specs? First, a 64-bit OS, a Solid State Drive (SSD), at least 8GB RAM, and a quad-core Intel CPU.
Test your new gaming server.
Let’s say you’ve set up everything. Can you assure that the server will run smoothly without testing it? I’m not sure if you do, but if you’re having doubts, we recommend that you test your new gaming server. We recommend doing it on survival games like 7 Ways to Die. Games like this are a good gauge if your server functions well without lag. Normally, a gaming server hosting for 7 Ways to Die should provide low latency and zero lag.
Make sure the ports are open on the server.
Your server is all set up, running, and tested; what now? Are your ports all open for players to go in? This is another tip. Make sure your assumed players will be able to access your server.
Open your ports. You can see where to open it in your control panel. If not, you can simply change the Windows Firewall settings and whitelist the server application.
You can assign a domain name for your server depending on the game to easily remember its IP address, and people can access them easily.
Posted by Mighty Gadget Blog: UK Technology News and Reviews