I have been using the TerraMaster F4-422 as my primary NAS for over a month now and it has been faultless, offering 4-bays and 10GbE with a quad-core Intel J3455 at a lower price than you would expect from other brands.
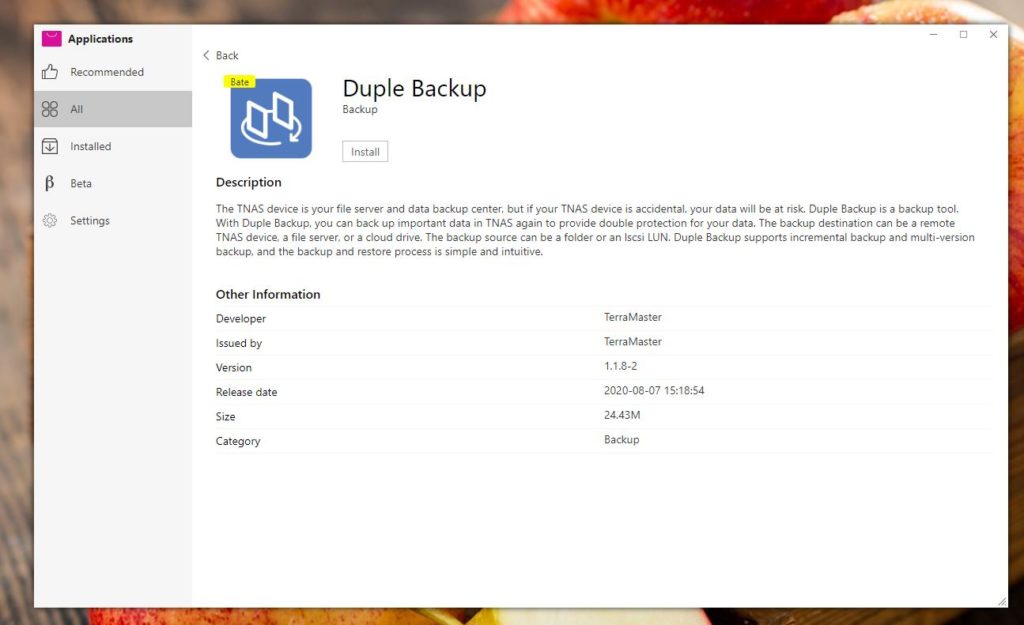
TerraMaster continues to improve its affordable NAS devices with OS updates and new software. One of the main uses of a NAS is for backups and the company have now just launched the Duple Backup Application.
The Duple Backup application is independently developed by TerraMaster, exclusive for TerraMaster storage devices. It supports scheduled backup, incremental backup, and multi-version backup, and has a one-key restore function. The backup tool provides the user with a variety of methods to remotely backup folders or iSCSI LUNs. It also comes with a convenient one-key restore function for restoring stored backups.
TerraMaster aims to strengthen data protection of TerraMaster storage devices by offering a versatile backup tool to protect user’s data from data corruption and other risks. The Duple Backup application is available for free downloads for TerraMaster users.
Duple Backup Key Features

- Safe and secure data backup
- Remote backup
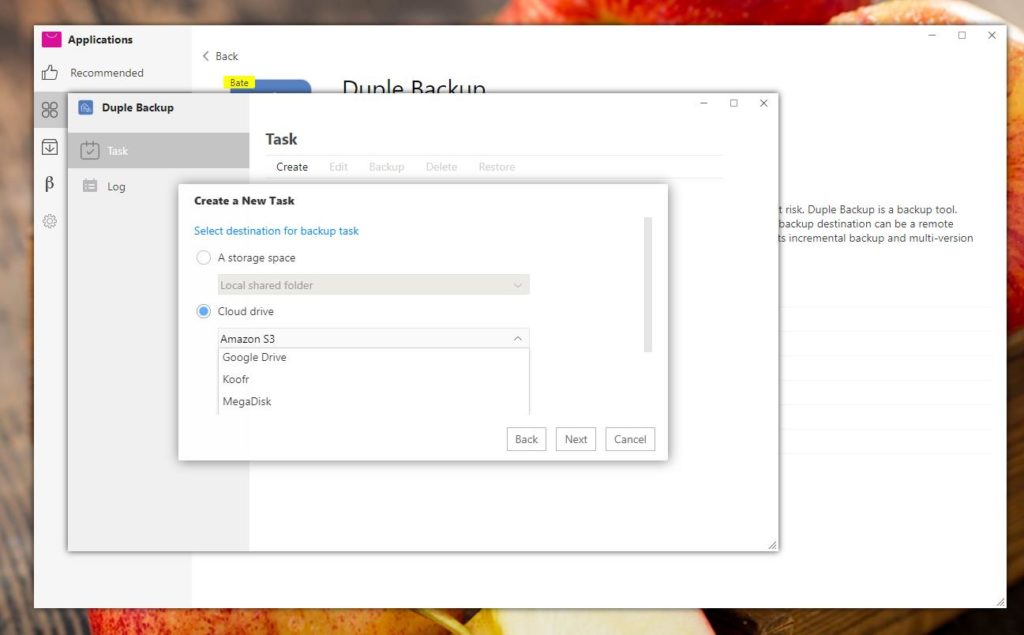
- Supports a wide range of data storage options (file server, TNAS, Webdav server, mainstream cloud-storage provider, local folders, etc.)
- Supports scheduled backups
- Supports incremental backup and multi-version backup
- One-key restore
How To Use Duple Backup Tool

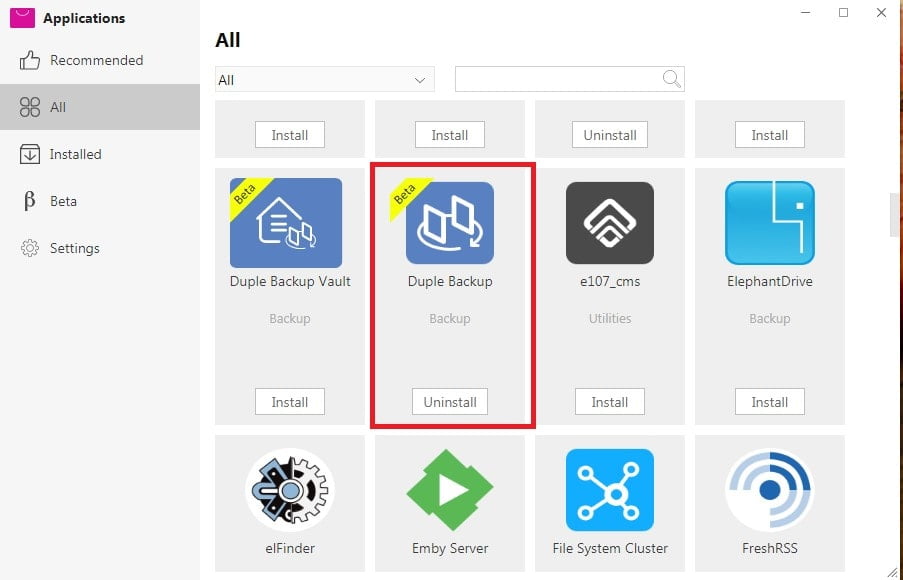
Step 1: Install Duple Backup on TOS Application and run application
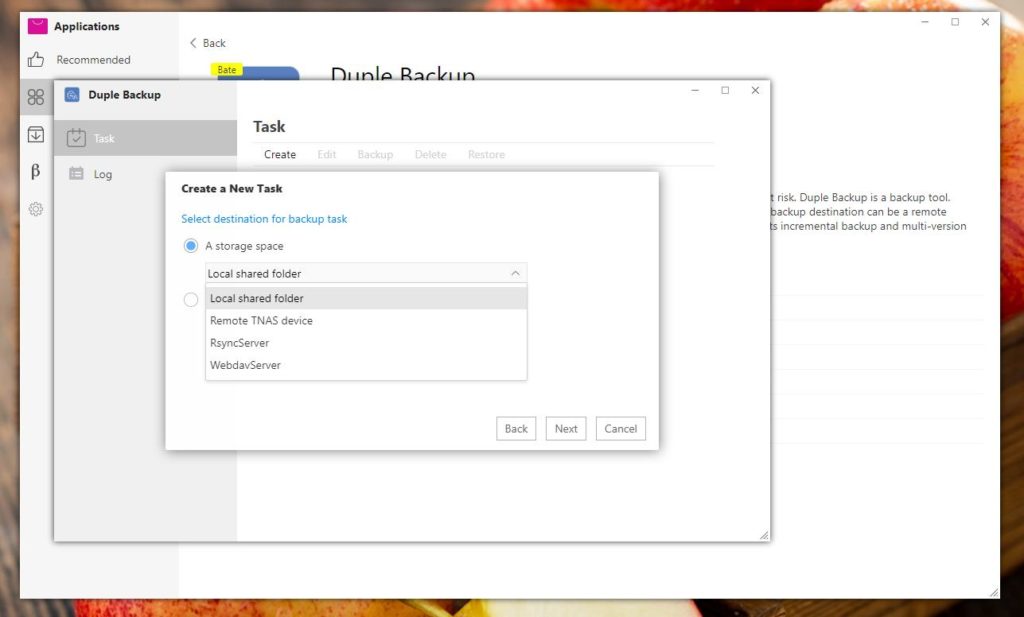
Step 2:Create a New Task, select either ‘Backup Shared Folder’ or ‘An iSCSI LUN’. For Backup Shared Folder, choose a storage space or cloud drive. Options include Local Shared Folder, Remote TNAS Device, and Rsync Server.
· For Local Shared Folder, select local shared folder then set backup destination, backup source, and settings.
· For Remote TNAS Device, select Remote TNAS device then set backup destination, backup source, and settings. Remote TNAS Device will require installation of Duple Backup Vault.
· For Rsync Server, select Rsync Server then backup destination, backup source, and settings.
Step 3: Choose backup task and activate backup by clicking ‘Backup’

