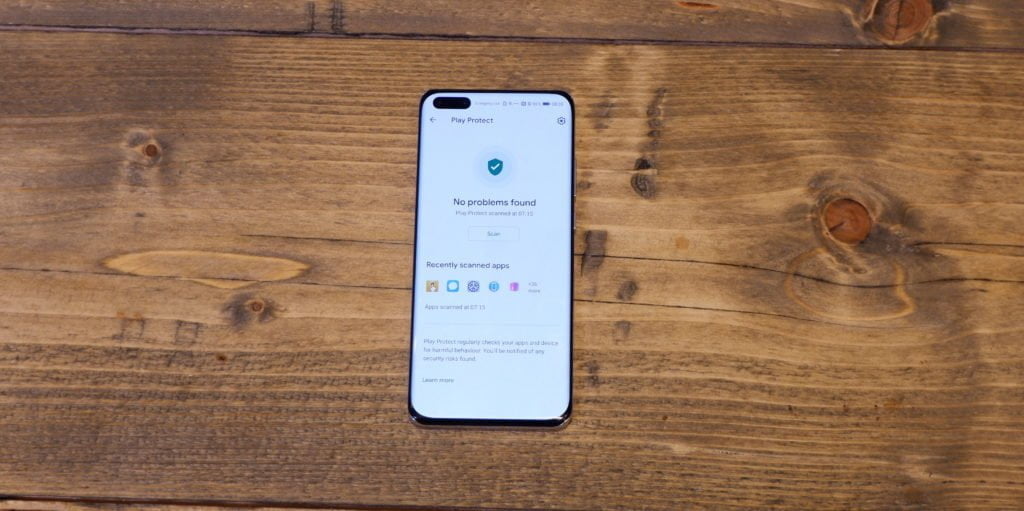
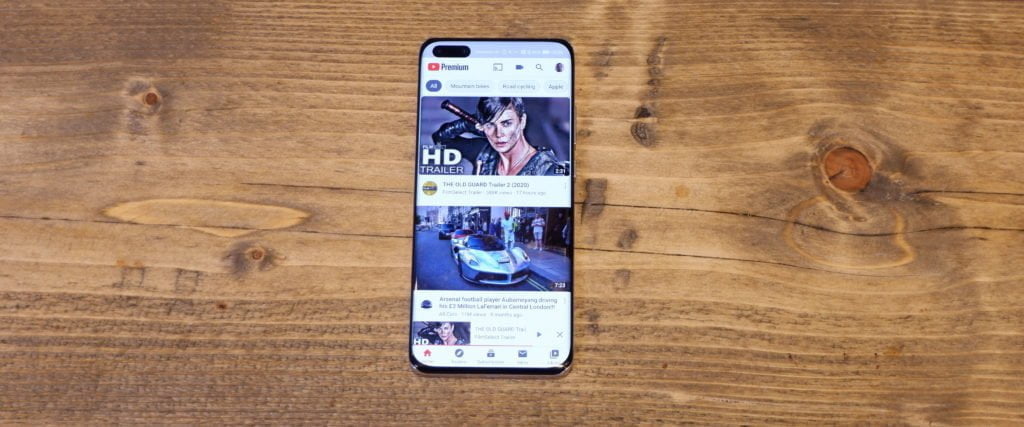
I have previously reviewed the Huawei P40 Pro and provided a tutorial on how to install Google Play on it.
I’m now in the reviewing the Huawei P40 Pro Plus, the even more expensive model which features a world-first 10x periscope zoom and is also the only phone on the market with two optical zoom lens, the second being a less extreme 3x zoom.
I plan on reviewing the usability of the phone without Google, and hope to bypass some of the issues it has with Google by using the MicroG app. However, it is inevitable that most people will still want google services on there. So I have once again documented the process.
You should be able to follow the previous guide, however, Rui Tukayana posted a video that claims to simplify the process with a new procedure. It hasn’t changed much, and in theory, it is easier.
It did take me about 5 attempts to get it working though, so even though the steps are technically easier, successfully completing the process is can still make you feel like you are losing your mind.
Further Reading
Fixing Play Services Notification Errors
This guide will fix the bombardment of notification errors you get from Google when it realises the phone is not play certified. This will then allow you to use the phone as if Google was shipped with it as standard for 99% of things.
Push Notifications that use Google Play Services
That 1% or maybe more, is because push notifications from apps that use Google services for the push will not work properly. For me, I don’t get ring push notifications, but things like Whatsapp, Facebook and Telegram all work.
You can fix push notification issues, but that comes with its own downsides and is another separate guide.
How to install Google Play Store on the Huawei P40 Pro Plus (and other Huawei / Honor phones)

Step 0 – Download ZIP and prep restore
- Download the files from here
- I extracted them to the USB, and I also extracted and copied the Huawei folder into the root of the USB.
- Attach the USB
- Gp to settings > Apps > three dots > Apps > Backup > Force Stop > Uninstall
- Go to USB step 1 > Install 1.APK >install 2 APK
- (if you didn’t extract and copy then) Select Huawei.zip and extract to the current directory
- Tap on the extracted file > Move other location USB drive > Move/Merge
Step 1 – Restore backup
- Go to settings
- System and update
- Backup and restore
- Data backup
- External storage and select the file backup file
- Type in the password istotaigado20 – Tap OK
Step 2 – Install LZPlay, Google Apps and login to your accounts
- Make sure Wi-Fi is on and connected
- Go to USB drive and the step 2 folder
- Install the 0 quick shortcut app and install it
- Then go back to the home screen and tap on LZPlay which is the purple G icon with Chinese writing
- Tap activate
- Tap allow
- Press the blue button
- Leave LZPlay running in the background
- Go back to the USB step 2
- Install the rest of the files in step 2 in order of the numbers (1-6)
- Then go back to the home page, click on the quick shortcut icon
- Tap on Google account manager
- Select the first option that says account and password
- Then on the three-dot and browser sign in
- Login to the account with all the relevant accounts (these all need to be done now)
- The video by Rui states an error occurs for him, mine logged in fine, but if you do get an error you can ignore it
Step 3 – install Google Services Frame Work
- Go back to files
- Go to step three on the USB
- Install Google Services Framework
- (if you had an error at point 15 of step 2 then go back to the earlier page where it says it could not sign in
- Tap next
- It should sign in, and you will now be flooded with notification errors
- Mine took a while to come through, you may need to restart your phone
- You can now go to the play store, and things should load up OK (but with those notification errors).
- Install Device ID (The purple one)
- Open the app
Step 4 – Uninstall Google play services
- Go to settings > Apps > Search Google
- Select Google Play services and force it to stop
- You may need to do this multiple times.
- Uninstall Google Play Services
- Notification errors should go
- Close all running apps (swipe up then trash can)
- Go to the USB drive > Step 4
- Install Google play services
- You will now get notification errors again
- Go to settings > apps > apps > Search google
- Tap google services framework
- Tap three dots > clear cache > Clear data
- Force stop (Multiple times)
- Uninstall
- Then go back to USB drive > step 3
- Install the APK
Step 5 – Reinstall Google Play Services with file in Step 5
- Check if google play store opens
- Refresh if it doesn’t load properly
- You can also restart you phone
- Then go to Settings > apps > app > Google Play Services > force stop (multiple times) > uninstall
- Go to USB drive > step 5 > install Google Play Services
- Here Rui states Google Play Store should open fine, my experience is that it opens and say it is updating and to sign in.
- Restarting the phone fixed this issue.
- This is the step where things tend to go wrong. If it didn’t work, you will get error notifications again, and I got a warning that my phone was not play certified. If this is the case, you can follow step 6. For me, I personally reset everything and restart again.
- Check everything is working
- If everything is OK, you can uninstall the LZPlay app (G icon)
Step 6 – If you have problems
- As stated above, if it didn’t work, I prefer to reset the phone fully. It is annoying, but I find it better overall to start from scratch. However, the following steps should work if you don’t want to do that.
- Settings > apps > apps > Google
- Google Services Frame
- Storage > clear cache > clear data > uninstall
- Force Stop and uninstall Google play services
- Install Step 3 and Step 4
- Check Google Play Store
- Uninstall Play services again then install step 5.
Source of the information from video by Rui Tukayana
